Install Filezilla on Windows

Instruct your customer to go to the following website.

http://filezilla-project.com

Please ensure the the option for "Client Download" is selected

Download the appropriate version of the application (Windows or Mac)

The application will then download

When filezilla has completed downloading Select "Run" or "Open"

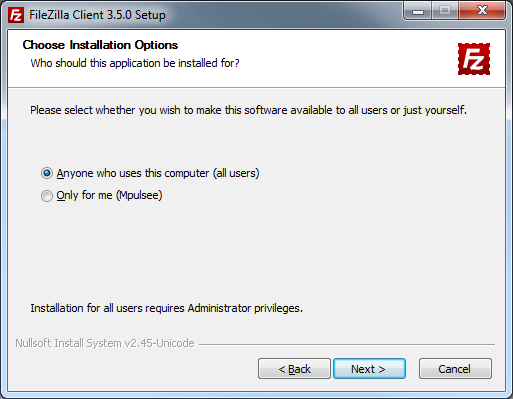
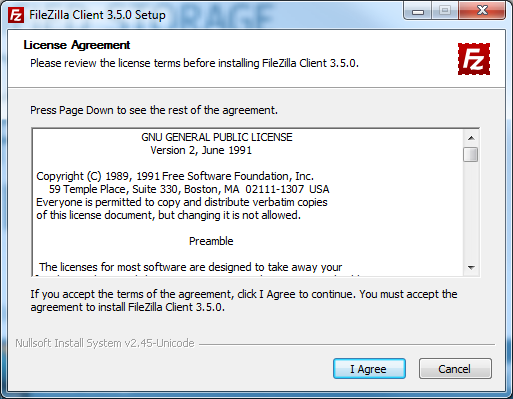
This leads us to the section seen on the left

Select "Agree" and proceed to step 2

Depending on the operating system we will next be prompted on what users have access to Filezilla

Windows 7 and Vista users can select "Anyone who uses this computer"

Windows XP users should not be prompted to make a decision

After Selecting the appropriate choice click "Next"

Next we will select the components to be installed with Filezilla.

Note that "Filezilla Client" is greyed out. This is the only option that cannot be modified.

After deciding on your preferences click "Next"

We now decide where to install Filezilla, the default location is adequate

Select "Next

In this section we will decide whether or not to create start menu icons.

You can choose to have no shortcuts created by clicking on the "Do not Create Shortcuts" option.

Click "Next"

Filezilla is now installed.

You can launch Filezilla by clicking on finish.


© 2024