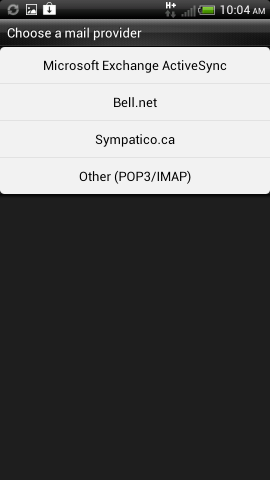
Open the "mail" application which should be in your list of all programs.Once it's open click the settings option. Usually there is a button on the bottom of the android screen that does this.Then click "new account" and you will see this screen. Choose "Other."
|
|
|
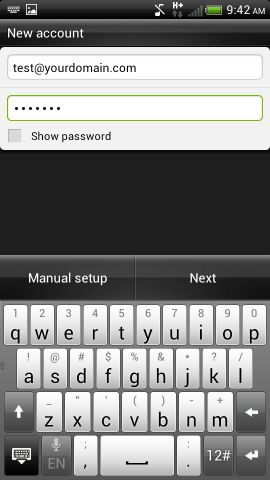
Please enter your name and email address to obtain your mail settings:
Android Email Set-up
 |
|
|
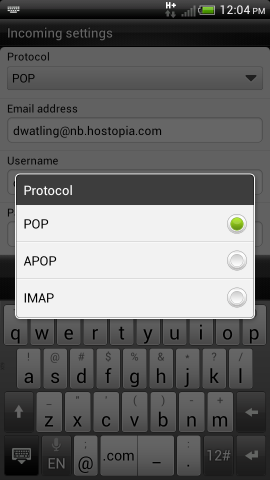
Click on "protocol" and choose the type of account you are setting up. This will usually be "imap." |
|
Add the email address and password and click "manual setup" |
|
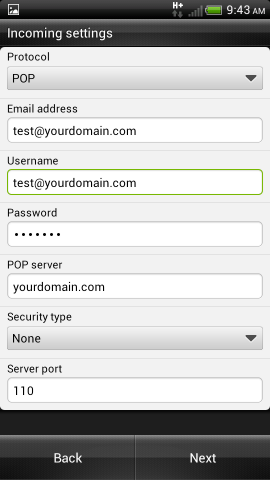
Add your incoming mail settings. This will be your full email address, your username which is also your full email address, and your password. Your imap or pop server would be mail.domain.tld, replacing domain.tld with the customers actual domain. Security would be none and port should stay at the default. |
|
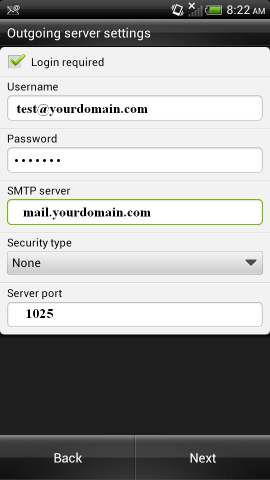
Your outgoing settings will be essentially the same as your incoming settings. Make sure you click "login required" on the top "security type" can stay as "none" and port should be changed to 1025. |
|
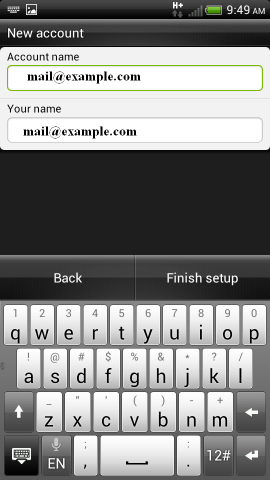
The account name field will be what the account is called on your phone. The your name field is what people will see on your messages when you send them. Click "finish setup" and your done. Keep in mind that andoid has more mail programs than we care to count. If the customer is looking for a good example or is having difficulties with the default mail program we've noticed K9 mail seems to have fewer problems. These steps can be followed, generally, to set up all of them If you get stuck remember the options button, not shown on most screenshots, will get you started. and if all else fails get the customer to read what's on the screen and you can give them the settings |
© 2025